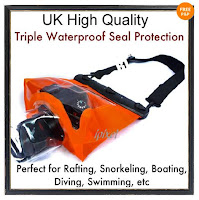
After my first shoot I wasn't pleased with the underwater camera bag I decided to purchase another underwater camera bag as the first bag the camera was in a landscape position inside the bag but I was looking for a bag that would let my camera sit upright. The difference was the bag itself. So I found myself another bag which was perfect because it was all clear and the lens length was 8.5 cm instead of 19 cm.

Practice shots:
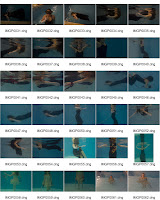
I decided to test my new camera bag again and with the same doll but I decided to change her dress and in the bathtub. This time instead of using freezing cold water I had more hot water than cold. This was because the pool for my second shoot the water was 32-35 degrees warm and the camera bag could only work up to 35 degrees.
This bag was so much easier to use with pressing buttons and zooming in and out.
I took more images for this test than last time.


When I was taking these photographs I had them on auto focus and my settings were shutter speed 1/60th and F10 with my ISO at 400. Some of the photographs are out of focus but more of them are in focus. When I was taking the photographs I didn't realise I had so many reflections with the surface of the water.
I decided to edit a few of them again in black and white.
I decided to try cropping this as a square format picture.
I also added some contrast to make the dark areas pop a bit more.
Before & After:
I carried out the same steps for all the photographs
I decided this photograph didn't need curves as I tested making it brighter and darker.
Before & After:
Third picture:
Before & After:
Shoot 2:
I was meant to get in the pool at half 2 until half 4 but there was a lesson until 3 so I had two hours to take my photographs. Due to problems I ended up with only one model.

Editing images:
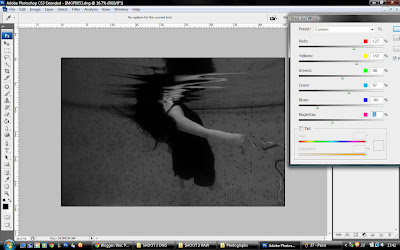
First I turned my images into black and white using the black and white option in Image > Adjustments > Black and White.
I found that the red and yellow channels were for the skin tones.
I then used curves to make the image a bit darker
I then cropped the image to a square format
As there was two objects in the photograph that were distracting I decided to use the patch tool to edit them out
2nd image:
I decided to go back a few steps and recrop the image as there was another object in the way and I couldn't edit it out.
Even though I had edited them image before with contrast I had to redo it as I deleted that step to crop the image. I wanted to make the image more black as it felt more on the grey side.
4th image:
I decided to add a mask layer so that I could keep the dress black and the background the same.
6th image:
7th image:
When I put my raw images into Photoshop I wasn't editing them, so I starting editing them by increasing the blackness
8th image:

11th image:
13th image:
14th image:


No comments:
Post a Comment