Monday, 28 January 2013

Conceptual Portraiture: Shoot 2


After my first shoot I wasn't pleased with the underwater camera bag I decided to purchase another underwater camera bag as the first bag the camera was in a landscape position inside the bag but I was looking for a bag that would let my camera sit upright. The difference was the bag itself. So I found myself another bag which was perfect because it was all clear and the lens length was 8.5 cm instead of 19 cm.  


Practice shots:
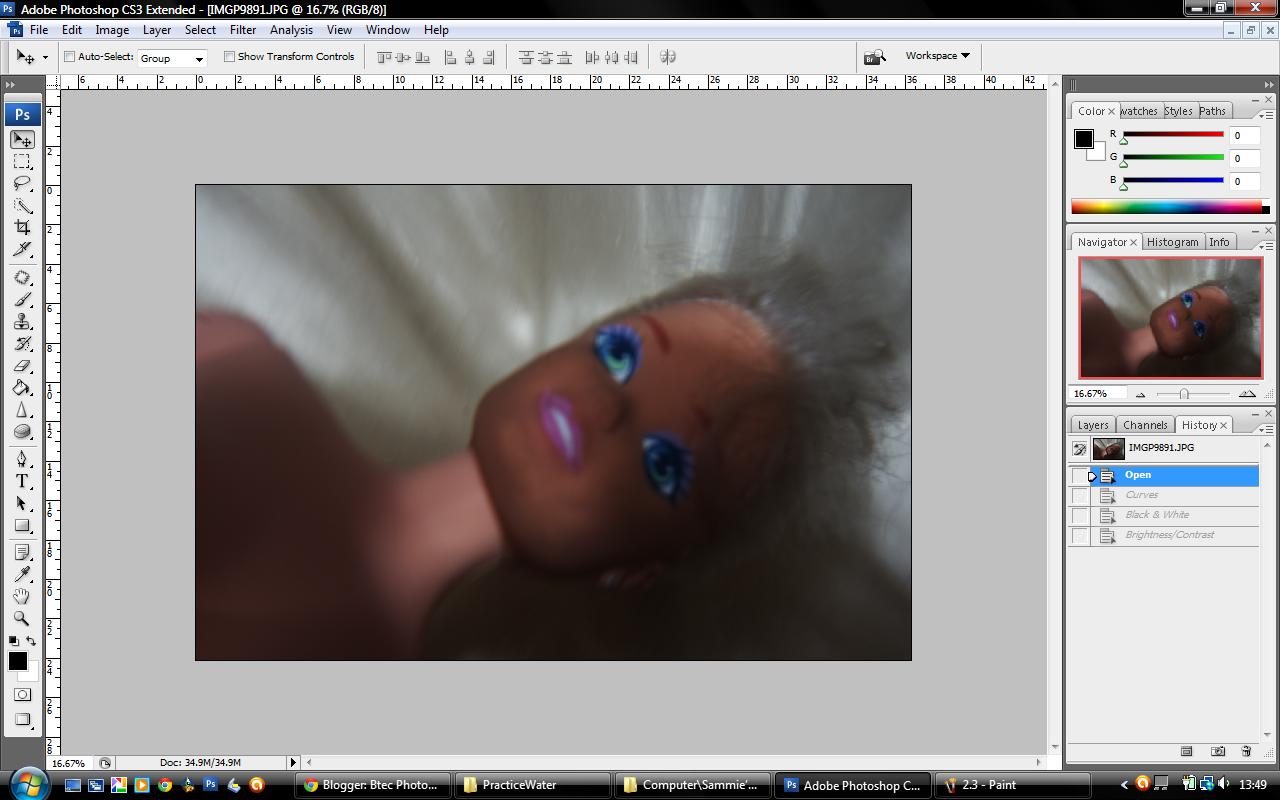
I decided to test my new camera bag again and with the same doll but I decided to change her dress and in the bathtub. This time instead of using freezing cold water I had more hot water than cold. This was because the pool for my second shoot the water was 32-35 degrees warm and the camera bag could only work up to 35 degrees. 
This bag was so much easier to use with pressing buttons and zooming in and out. 
I took more images for this test than last time.


When I was taking these photographs I had them on auto focus and my settings were shutter speed 1/60th and F10 with my ISO at 400.  Some of the photographs are out of focus but more of them are in focus. When I was taking the photographs I didn't realise I had so many reflections with the surface of the water. 

I decided to edit a few of them again in black and white. 

I decided to try cropping this as a square format picture.

 I decided to use curves to add a bit more brightness.

I also added some contrast to make the dark areas pop a bit more.

Before & After:


 Second picture:
I carried out the same steps for all the photographs


I decided this photograph didn't need curves as I tested making it brighter and darker.

 Before & After:


Third picture:


Before & After:


Shoot 2:
I was meant to get in the pool at half 2 until half 4 but there was a lesson until 3 so I had two hours to take my photographs. Due to problems I ended up with only one model. 


Editing images:

First I turned my images into black and white using the black and white option in Image > Adjustments > Black and White.

I found that the red and yellow channels were for the skin tones.  

I then used curves to make the image a bit darker

I used contrast to make her dress fully black and to darken the water 

I then cropped the image to a square format

As there was two objects in the photograph that were distracting I decided to use the patch tool to edit them out

2nd image:


I decided to go back a few steps and recrop the image as there was another object in the way and I couldn't edit it out. 

Even though I had edited them image before with contrast I had to redo it as I deleted that step to crop the image. I wanted to make the image more black as it felt more on the grey side. 


 3rd image:


4th image:


I decided to add a mask layer so that I could keep the dress black and the background the same.


5th image:


6th image:


7th image:
When I put my raw images into Photoshop I wasn't editing them, so I starting editing them by increasing the blackness 


 8th image:


9th image:


 10th image:


11th image:


12th image:


13th image:


 14th image: 


Thursday, 24 January 2013

Conceptual Portraiture: Shoot 1 & Crit


Practice shots:
As I had bought a waterproof underwater bag for my camera I had to test it first to make sure it was fully waterproof which I was testing out in my bath. While I was testing to make sure it was waterproof I wanted to take some test photographs to see how they would turn out so I got a Barbie doll and put her in the water.


For a first try I was pleased with the outcome but it was hard to focus of the doll because the orange cover on the bag was covering the focus light of my camera. I only managed to take 3 photographs because I had filled the bath with cold water which was too cold for my hands to be able to press buttons and move my lens to zoom in. 
I decided to edit some of my photographs keeping with Horst P Horst's style of black and white. 

First picture:

First I added curves to brighten my picture up and then I added some contrast to the image

I then changed my photograph into black and white by changing the colour channels.

I then added more contrast to the image because when I added it before it made no difference to my image
I was showing how the amount of contrast affected my image


I then decreased the brightness of my image for a more darker tone.


Before & After:


Second picture: 

Adding curves to make my picture brighter

Changing my photograph into black and white
I found that when I was changing the different colour channels that it was only affecting her eyes and mouth. 

Adding some contrast:

Before & After:


I think the photographs look good in black and white but as they are close ups of the face that they don't come across as being underwater.

Shoot 1:
When I got to the location, people were still in the swimming pools so I had to wait for them to finish. As they were taking too long I was taught how to use the equipment. When the instructor was sure I could use the equipment well enough it was ten o' clock so I only had 25 minutes to take my photographs. 
I put my camera on RAW and in manual mode. At first I had my settings on F16 and shutter speed of 1/125 ISO 1600 but this was too dark. (I was quickly changing them while my model was swimming in front of me) I changed my settings to F10 1/50 and ISO 800 this was slightly better but still dark so I turned my ISO higher to 6400 where I could see my models. 
I managed to take 13 photographs underwater but I wasn't able to get out of the pool to check my photographs mainly for trying to take as many pictures as I could but also because the equipment was heavy out of water. I was having trouble with my underwater camera bag as the length of the lens was too long for my standard 18-55mm lens. To sort this out I had to push my lens to the end of the tube and put an elastic band over it so that the end of the tube would not be in my photographs but this didn't help with manually focusing my images. As the camera bag could float in water there was lots of air inside the bag it was hard to hold under the water as I was nearly a metre deep it was also difficult to press my camera buttons as there was so much air inside so my mum and dad had to empty the air. 
I wasn't pleased that my images were out of focus and grainy because I thought my images wouldn't be good enough. 


Contact sheet:


For our group critique we had to show 3 of our best images. These are the images I showed:

1)
 2)
 3)
 4)

These are the questions asked:

What is good about the project so far?
very nice, they look timeless and feminine. The clothing is not distinctive to the 21st century. They have a different setting and they liked the lines of the pool side.  

Which is the best image of the series?
The third photograph, it looks like an album cover.

What is working aesthetically?
The photographs you don't see the faces of the models or their heads are chopped off. 

Are the projects working as a series?
Yes apart from the 4th photograph as the dress looks like she's passing gas but also its more closer and it doesn't show her whole dress.

What are the photographs communicating?
They have captured the Horst P Horst style.  

What is good about the technique?
The photographs are out of focus and grainy which resembles old film. 

What suggestions were made about how to complete the project?
As the third photographs is in square format they should be all done in the format as old film was 6''x6''. 


After my photo shoot I was disappointed in myself that I managed to mess up my photographs by not having them in focus so I was desperate to find another swimming pool to take more photographs in. I rang up swimming pools but most places said no until a family friend contacted me saying one of his friends owns a swimming pool in Shipley and I would be able to take my photographs there. So my next underwater shoot is on Sunday the 27th from half past 2 until half past 4 I will be taking more photographs and hopefully they will be in focus. 

Wednesday, 23 January 2013

Conceptual Portraiture: Proposal


Proposal:

For my fashion project my concept is to do underwater photography because its pushing boundaries and I think its perfect for my idea. 
My idea is to copy Horst P Horst's photography style where he accentuates ladies elegance and gracefulness by their body contours of the poses.
I researched into underwater fashion photography and saw that most of the models were in dresses which made me want to have my models in dresses so underwater they float and and show gentleness.
I also researched underwater fashion photography tips and found that one way to make it more interesting was to have props. I was thinking of some props to take but keep them feminine. I decided to take some long gloves ( in black and white), a feather boa, masquerade masks, ribbons and beads. 


At first I didn't know how I was going to be able to achieve my idea, so I thought of other ideas for a back up. I still wanted to stick with the water theme so another idea would be to go to the beach and take some photographs there but I wasn't too keen on this idea as I preferred underwater photography more and thought it would have looked better.
I started researching into the equipment used in underwater photography such as housings and additional flashes when I came across waterproof camera bags and decided to purchase one to try it out. I still need a location for my photo shoot and luckily one of my dad's work friends is a scuba diver instructor at the John Charles Sports Centre and he said he would let me take my photographs there as long as he'd teach me how to use the scuba diving equipment first. The schedule of the night was arrive before 8 then be taught to use the equipment until half past 8 then take my photographs until ten o clock. 
Before my first photo shoot I stumbled across a photographer called David Hofmann on Instagram who photographs dancers. On his website there are more photographs that he has taken. The poses influenced me because I thought some of them would be quite easy to recreate in water. 


I decided to draw up a list of poses that I wanted so that I wouldn't forget any that were in my mind and to be organised when taking my photographs but also to show my models what kind of poses instead of trying to describe them. 


I thought I would only get one chance at this so I wanted to take a photograph then get out of the pool to check it and if it wasn't right then go retake it. 


Wednesday, 9 January 2013

Conceptual Portraiture: Medium Format Portraiture


We were introduced to medium format camera's which appeared in the 60's. 
These camera's were much smaller than large format camera's this meant photographers could break away from the studio and go out into the streets and discover more locations which created the 60's street cool.
The camera upgraded double slides to a roll of film which meant taking photographs was more faster resulting in a faster workflow, more photographs to be taken and experimenting. This also meant that the photographer could interact more with the sitter.  


Some pictures of the camera we used (Zenza Bronica):


The film: 


When taking a picture you have to take the metal slide out. 

We then went outside and took photographs.

We also took some photographs in the studio.

We used a light meter before taking each photograph.

It was fun using these camera's as it was different to the camera's now. It was difficult remember to take out the metal slide before taking a photograph and not being able to see the image taken afterwards. 

This is the negative we used but as it was very light it was hard to get a right exposure that wouldn't be too dark on the face or the background. 


After many tries and using the filters on the enlargers we found that a 12 second exposure and having the magenta up to 165 worked best.